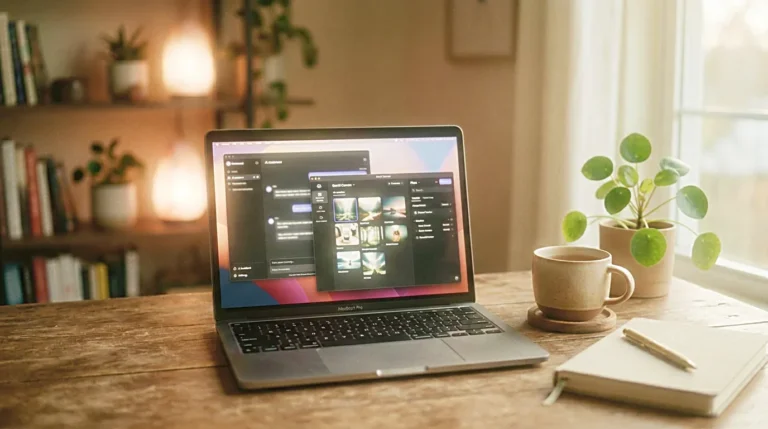
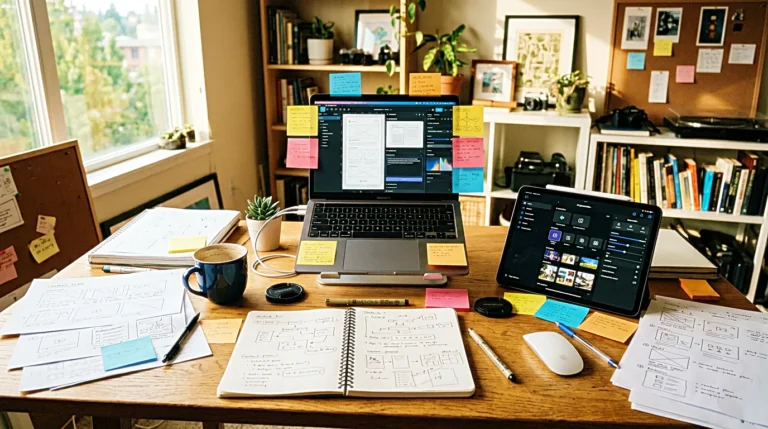
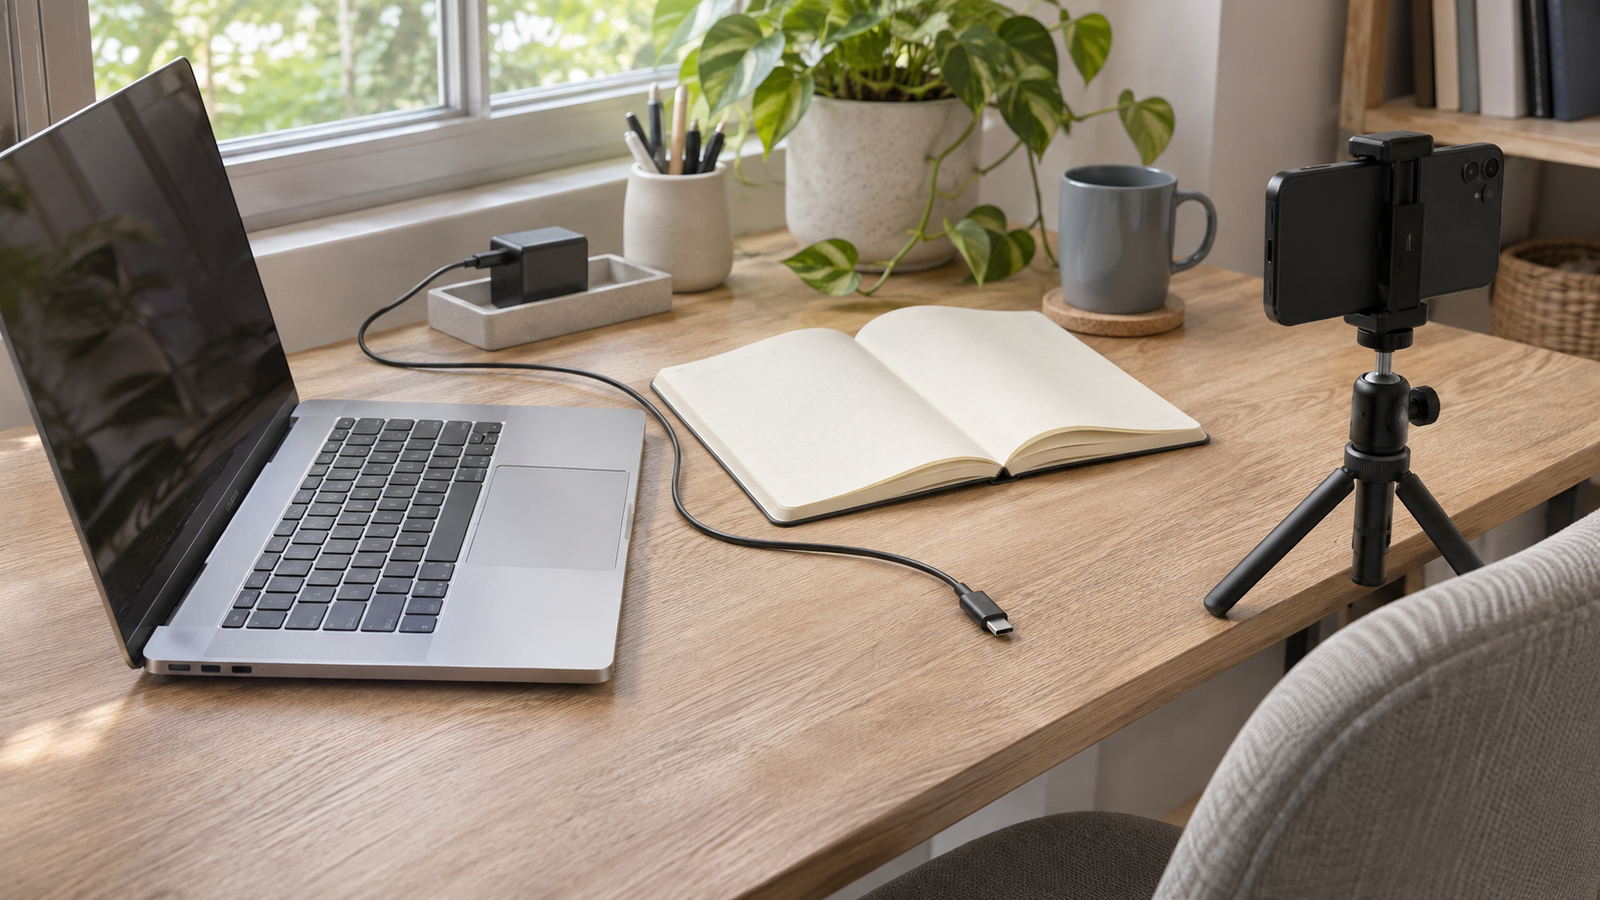
A charging cable lies across the space where your notebook opens. In the next photo, the desk is clear and the notebook opens flat. The two photos show what changed. The useful part for anyone with the same small desk is seeing where the loose plug went.
Build a 15-second desk video around that one change. Use a still photo to establish the problem, film the movement that solves it, and close on a second photo that shows where everything ended up. A gentle crop or pan is enough to give the first and last shots movement.
Decide what needs to change on screen
Describe the change in one sentence before you open an editor. For the cable example, the loose plug moves out of the writing area and ends up within reach at the back edge of the desk. That gives you a beginning, an action, and an ending you can identify from a single frame.
A small change is easier to read. A clip about clearing space to write can stay with one cable and one notebook. A clip about how far a lamp reaches can stay with the edge of the shadow as the arm moves. Decide what you want a viewer to be able to see or copy after watching.
Pick a reference point that will appear in both photos. The notebook's spine or the near corner of the laptop can show how much space the cable occupied. Keep the camera height, light, and placement of those objects steady between shots. That makes the result legible even when the desk fills only a small part of the viewer's screen.
Build the 15 seconds around three shots
Try three seconds for the before photo. Frame the cable where it crosses the notebook's path, with enough of the desk visible to orient someone who has never seen it. Give the filmed action about eight seconds. Use the final four seconds for the after photo, where the empty writing area and the new location of the plug can both be seen.
If the video is going to be vertical, check that crop before choosing the photos. A wide desk picture can lose the plug at one edge and the notebook at the other when you bring it into a tall frame. A closer photo that holds both objects gives you room to make a slow move without losing the point of the shot.
These timings give you a starting cut. If the first photo is clear at a glance, move into the action early and give the ending another beat.
Film the movement someone could copy
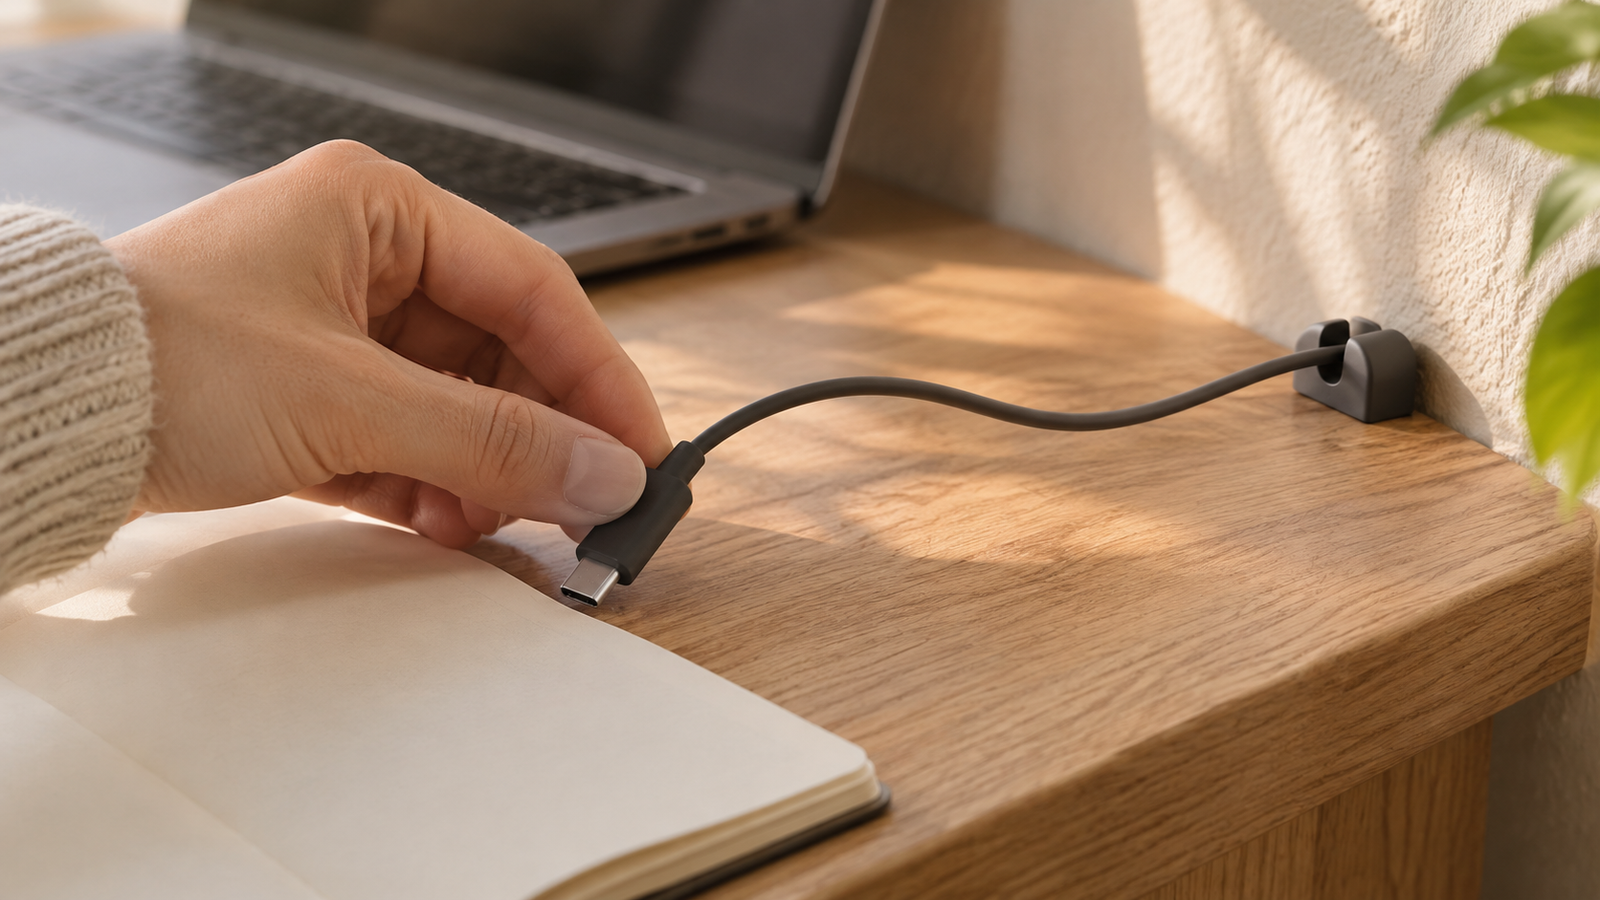
Set the phone where it can see both the starting point and the place the plug is going. Begin with your hand outside the frame and let the cable sit for a moment. Lift the connector, guide the cable away from the notebook, and leave the new position visible after your hand moves away. That last beat makes it easier to cut into the after photo.
Run through the move once from where you actually sit. The first location that looks tidy from above may pull on the cable or put the plug behind the laptop. If you need a place for the cable you unplug every day, check where your hand can reach and how much slack the laptop needs before choosing the final spot.
Record another take if your wrist covers the connector or the cable leaves the frame at the important moment. A small change in the camera angle often reveals more than another close-up.
Add a little movement to each still
A slow push toward the cable can carry the viewer into the first shot. Keep the move short enough that the notebook stays visible. On the last photo, use a steady frame or a small pull back to show both the cleared surface and the plug's new position.
If you use an image-to-video tool, describe the camera move and ask it to keep the desk objects stationary. Check the first and final frames around the connector, clip, and notebook edge. If their shapes or positions drift, a simple animated crop of the original photograph gives you the movement while keeping the details intact.
Give any on-screen words one job. A short label can point out where the plug ends up. Place it where it leaves the cable and your hand visible.
Review it once on a phone
Watch the export at phone size with the sound off. Pause on the last shot and see whether you can spot the plug. If the action is clear and the result is hard to find, adjust the final photo. If you see the result but need to replay the action, trim the lead-in or film the movement from a clearer angle.
Keep the two photos, the original clip, and a note on the order of the shots beside the article or caption they came from. A simple content creation workflow makes it easier to replace that one unclear shot the next time you publish a desk guide.
Related FAQ
It is useful when it helps keep the article calm, specific, and structured around a real reader decision. It should reduce noise, not make the writing feel automated.
It should occupy one clear role. If another tool already handles the same job, adding AI blog writing tools may create overlap instead of a cleaner system.
It should occupy one clear role. If another tool already handles the same job, adding AI web page copy tools may create overlap instead of a cleaner system.
Beginners should start only if the task is already repeated often. If the workflow is still unclear, a simpler note, outline, or checklist may help more than another AI app.
Beginners should start only if the task is already repeated often. If the workflow is still unclear, a simpler note, outline, or checklist may help more than another AI app.
Before You Go
Paid links- Advertisement -