The back edge of a desk can look clear until you reach underneath and find a steel rail where the clamp pad has to sit. Before buying a monitor arm, check the thickness at the mounting point, the space below it, and the gap behind the desk. The clamp needs a surface it can grip and room to tighten. The arm and monitor then need room to move once the desk is back in place.
Keep the installation drawing for the exact arm open while you measure. The advertised desk thickness is a starting point. The drawing shows where the clamp bears against the desk and how much room its screw or lever takes up.
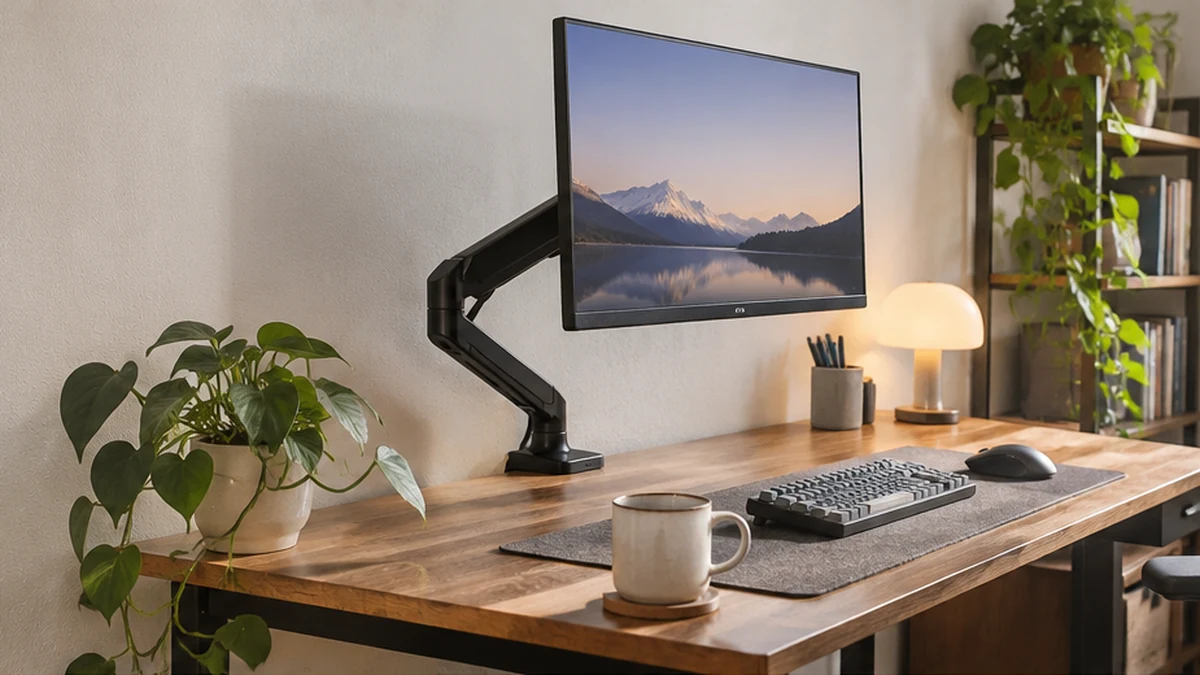
Measure the edge at the point you want to use
Mark the proposed mounting point with painter’s tape. Measure from the top of the desk to the underside at the spot where the lower pad would land. Check the edge profile, too. A bevel or raised lip can put the pad on a slope even when the thickness is within the listed range.
For one model-specific example, Ergotron’s mounting guide shows a maximum desktop thickness of 2.4 inches, or 60 mm, for its standard two-piece LX desk clamp in the illustrated configuration. The same guide shows other mount styles with different shapes and clearance requirements. Match the drawing to the clamp included with the arm you plan to buy.
Look for a rail, tray, or bracket underneath
Measure from the back edge inward to the first obstruction. Compare that distance with the lower pad and the body of the clamp in the drawing. A desk can have plenty of open space farther forward while a steel crossbar blocks the one spot the pad needs to reach.
Leave room for your hand or the tool you will use to tighten the mount. If a cable tray occupies that space, check where its fasteners and cables would go before shifting it. A cable route for a laptop you unplug every day is easier to keep usable if you choose the arm position and the cable path together.
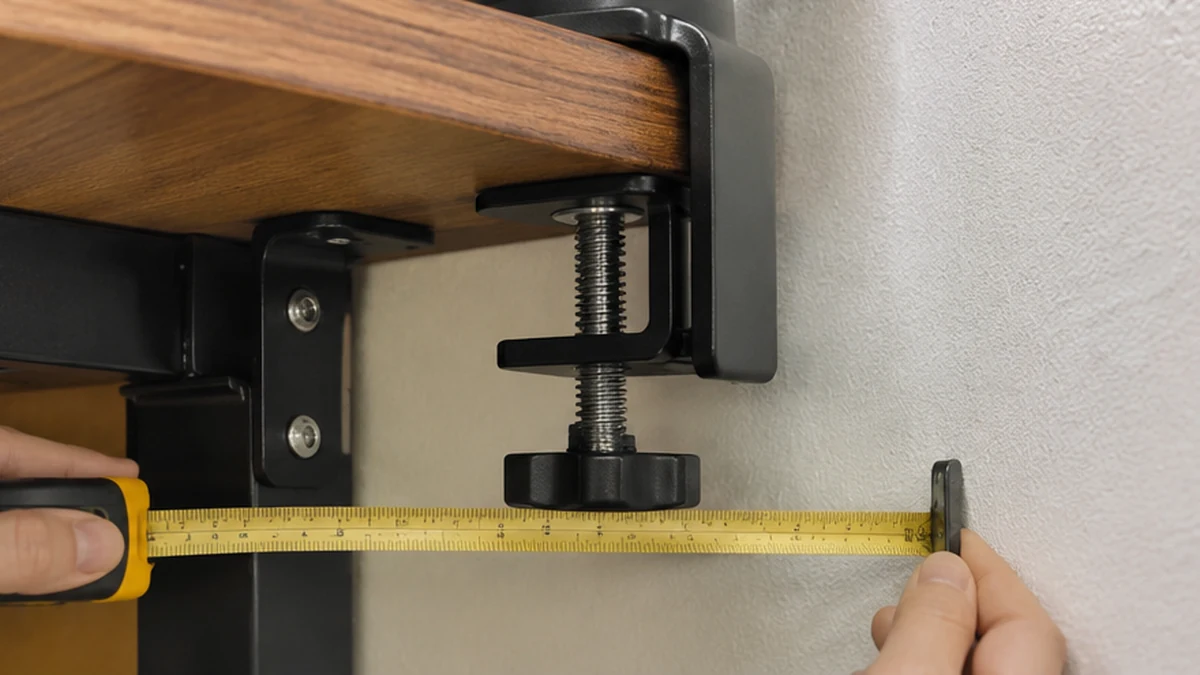
Check the wall gap twice
First, measure the room needed to install the clamp. A rear bracket or tightening knob may stick out beyond the desktop. If you can pull the desk forward to install it, check how close you can return the desk without pressing the bracket or cables against the wall.
Then check the space needed while using the arm. An elbow may swing backward when you pull the screen toward you or move it to one side. Include the monitor’s depth, the connector plugs, and a gentle loop of cable in that check. Put a strip of tape at the normal wall line if you are measuring with the desk pulled out.
Check the surface that will carry the load
Find out what sits under the desk’s finish. For glass, hollow-core, or unusually thin tops, use the desk and arm manufacturers’ guidance for the exact combination. A reinforcement plate can spread the contact area when the manufacturers allow it. It cannot change what the desk is rated to support.
If the only available contact point puts a clamp pad on a trim piece or lets it bear unevenly against a rail, try another mounting point or a supported mounting option. Both pads should seat as shown in the manual.
Make sure the screen ends up where you work
Stand a piece of cardboard where the screen’s face would sit in your normal position. Check the distance from the front edge, then move the cardboard to the positions you use for calls or shared viewing. A clamp shifted toward the corner can fit the desk while putting the screen too far to one side.
Check the monitor’s weight without its stand, the arm’s supported weight range, and the mounting pattern on the back of the monitor. An ergonomic desk setup also depends on where the screen lands when you sit down. Leave enough space for the keyboard and the work you do directly in front of it.
Choose a mount that fits the measurements
A top-tightening clamp may help if access from below is the main obstacle. Compare the lower bracket and the rear projection in its drawing. That design can still need room beneath the desk and behind the edge.
If you already have a grommet hole, check that the exact arm supports grommet mounting. Compare the hole diameter, tabletop thickness, underside plate clearance, and the proposed screen position with the installation guide. A freestanding riser or the monitor’s existing stand can keep the screen usable if the desk has no suitable mounting point.
Take the measurements with you
Write down the desktop thickness at the chosen point, the clear distance under the back edge, and the gap to the wall. Add a photo taken from underneath so you can still see the crossbar, bracket, or cable tray when you compare products. Put each number next to the corresponding dimension in the manufacturer’s drawing before ordering.
Related FAQ
Avoid buying from a list before defining the problem. standing desk converter should be chosen after the room, desk, workflow, and budget are clear.
Avoid buying from a list before defining the problem. small desk speakers should be chosen after the room, desk, workflow, and budget are clear.
Check the real use case first. best desk speakers should solve a repeated work, focus, recording, or rest problem before specs or discounts decide the purchase.
It can help when it supports the work session without adding clutter or complexity. The product should make the desk easier to use, not harder to maintain.
It can help when it supports the work session without adding clutter or complexity. The product should make the desk easier to use, not harder to maintain.
Before You Go
Paid links- Advertisement -